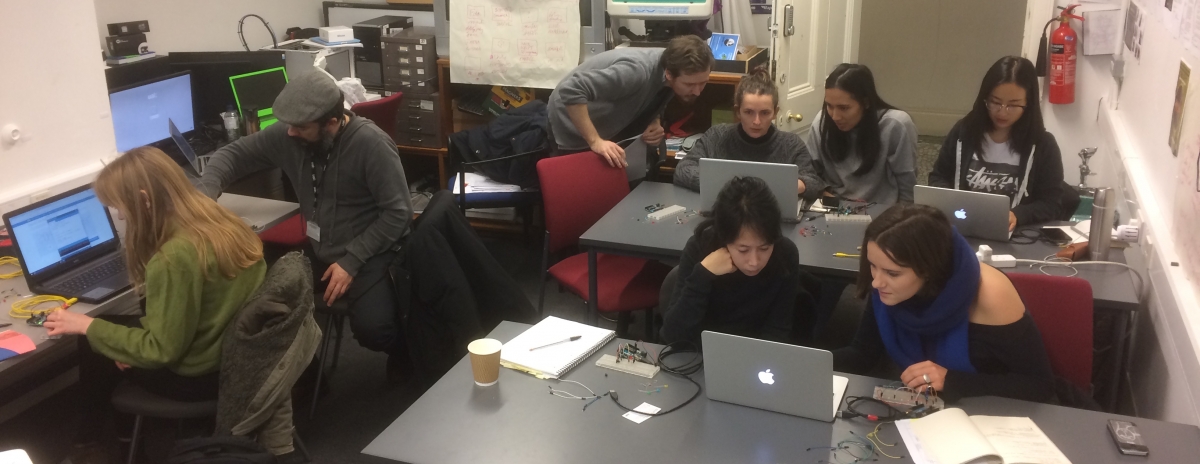
Physical Computing: Introduction to Arduino
This workshop has been developed as a result of a Digital Maker Collective collaboration between alumni artist in residence Rosie Munro Kerr and Chelsea BA Fine Art student Daniel Bandfield
Expression of interest: Please add your details HERE so we can let you know about future sessions.

Once you have a place on this workshop please complete this Registration Feedback FORM required prior to starting the workshop.
Slides for this workshop can be downloaded HERE.
If you have attended a session and would like to leave some feed back please do HERE.
Physical Computing Lesson Plan
Structure:
10 to 12 people per lesson.
Time length: 3 hours
-
Introduction
Talk about principles of the lesson topic - 15 minutes.
-
Follow along demonstration
Demonstrate how to build something, while students replicate it - One hour.
-
Problem/Task
Present a task for the students to work out themselves using the principles established, or give them the opportunity to make something using students initiative - One hour.
Lesson 1 – Introduction to Arduino
Equipment introduced
-
Arduino Uno
-
Button
-
LED
-
Capacitive Touch (not really equipment)
Principles explored
-
Introduction to micro controllers and arduino uno.
-
-
What is a micro controller and how is it different to a computer?
-
What is it good at and what is it not good at?
-
Brief overview of the internals of an arduino
-
The Atmel atmega328p
-
USB chip
-
Pins: Digital and analog
-
Power
-
-
-
Basic common principles of code.
-
Variables
-
Functions
-
Libraries
-
Conditional Statements
-
Loops
-
-
Basic electronics principles.
-
Volts, amps and ohms.
-
LEDs
-
Resistors
-
Capacitance
-
-
How to learn about physical computing.
-
DO NOT need to memorise everything now.
-
Everything is a google search away.
-
Start with problem statement.
-
Divide complicated problems into smaller, simpler problems.
-
Demonstration
-
Part 1: Blink an LED
-
pinMode()
-
digitalWrite()
-
Serial functions
-
-
Part 2: Blink an LED with a button
-
Part 3: Register touch using capacitive touch and fruit
Task
Students can choose to either:
-
Create a circuit in which a blinking LED blinks faster when someone is touching a fruit.
- Play around with the electronics and come up with their own circuit.

